Manage Lists
Table of Contents
Intro
Create New List
List Templates
Locations and Groups
Intro
You can access the list tools by selecting “Database Lists” on the left hand screen.
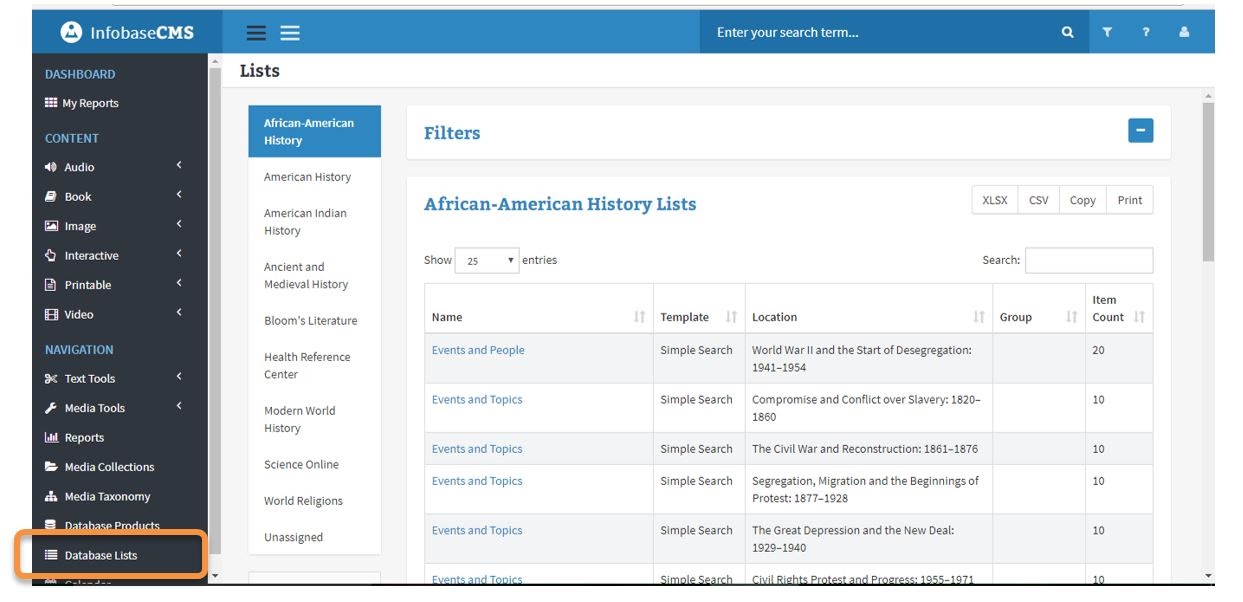
The database list tools allow users to edit current managed lists that are live on the platform, as well as create new lists. The list tools were not only redesign for the MMS/CMS platform, but have now been expanded to allow users more functionality and options in a user-friendly design.
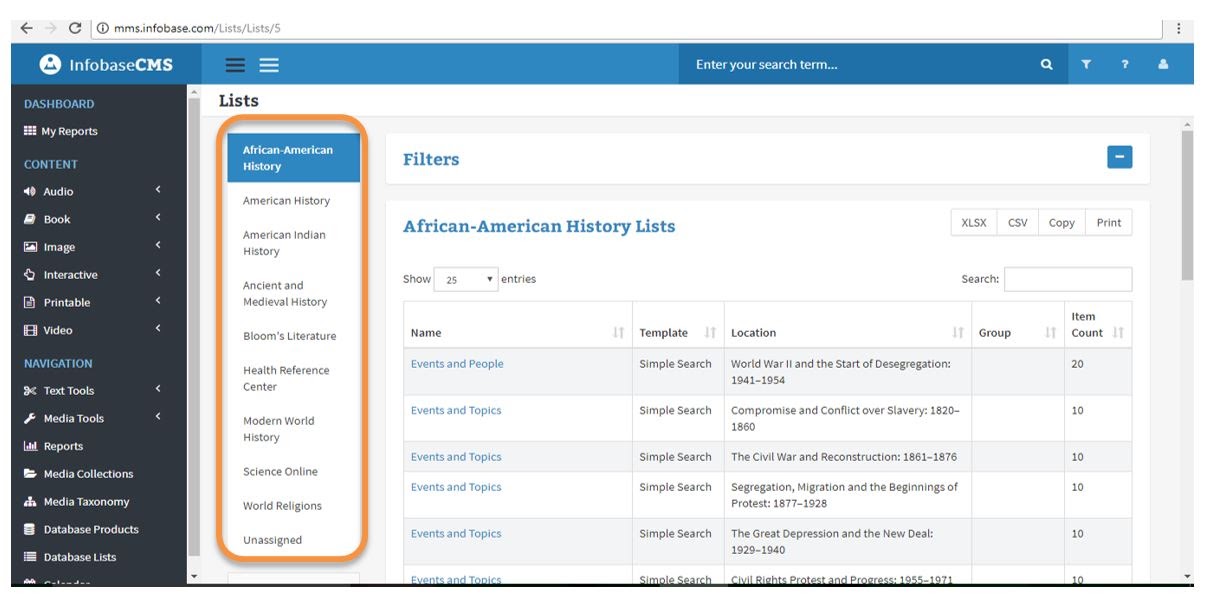
The lists are separated into their designated products, which are listed on the left side of the tool. Click on the desired database to view the lists that are live in the product.
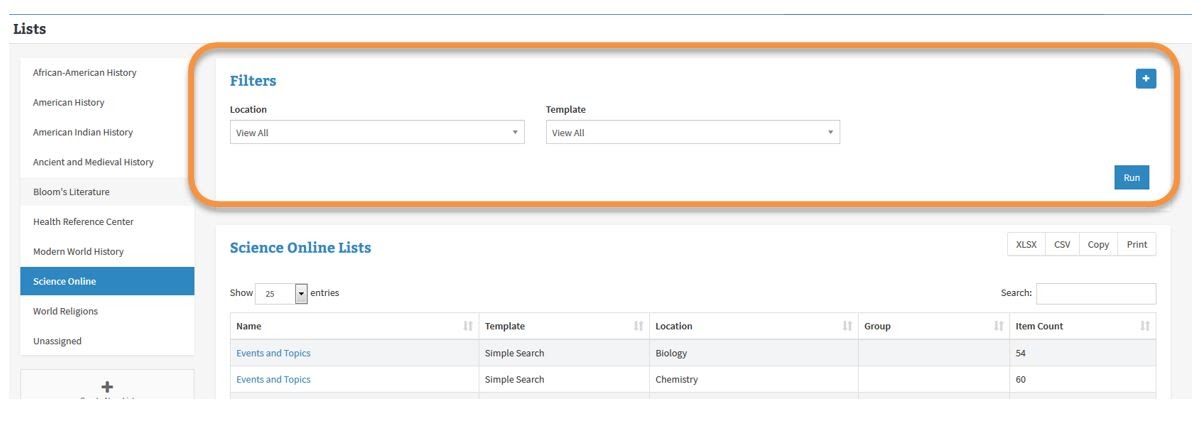
You can then filter by list location (homepage or topic center) or by list template.
You can export the information you see at any time via the button at the top right corner, simply select the format you would prefer.
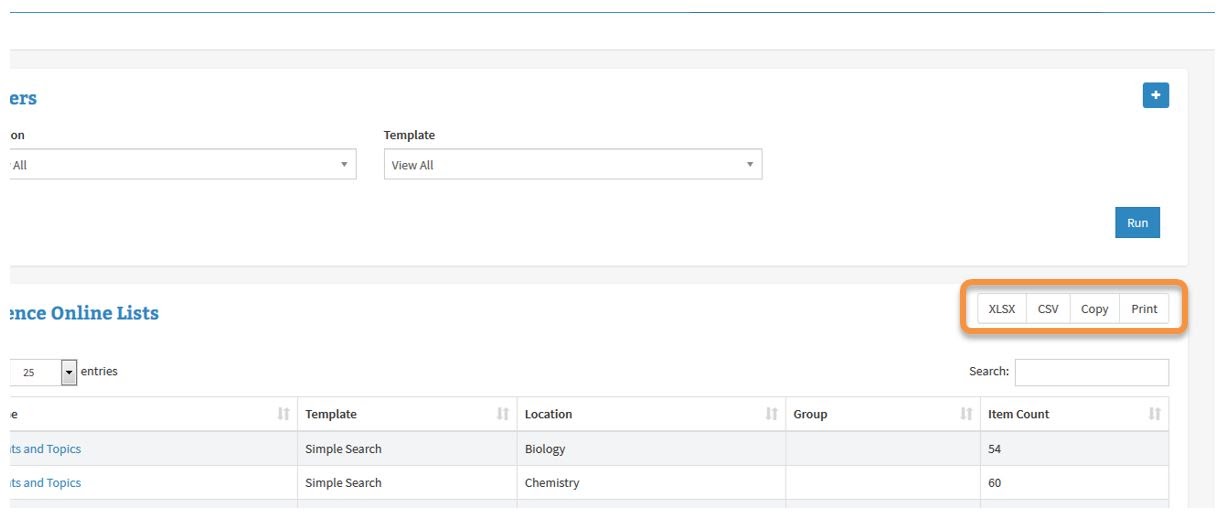
Below are general instructions for getting the most out of this tool.
Create New List
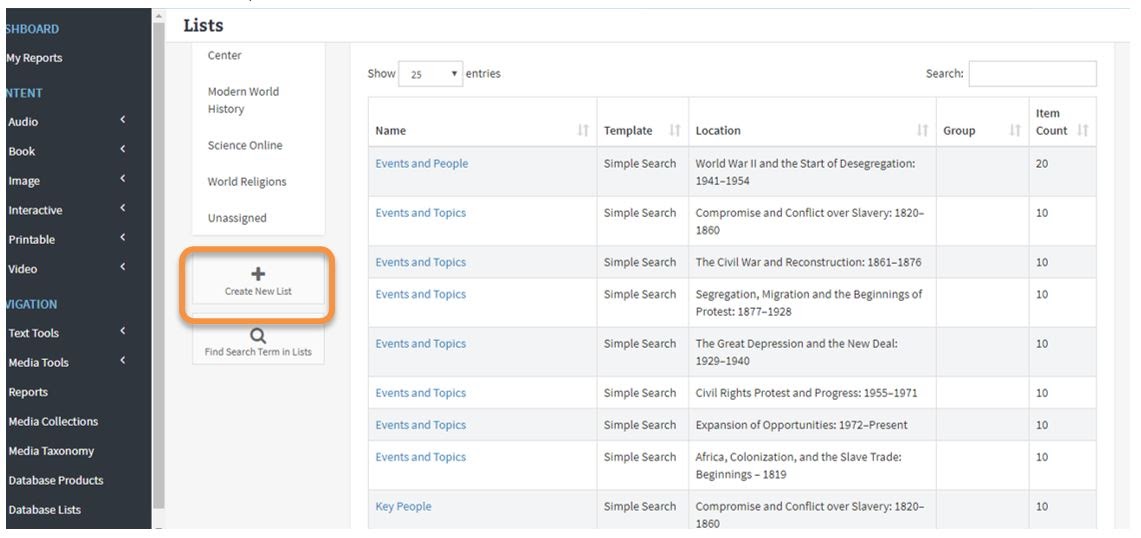
To create a new list, select the “Create New List” button
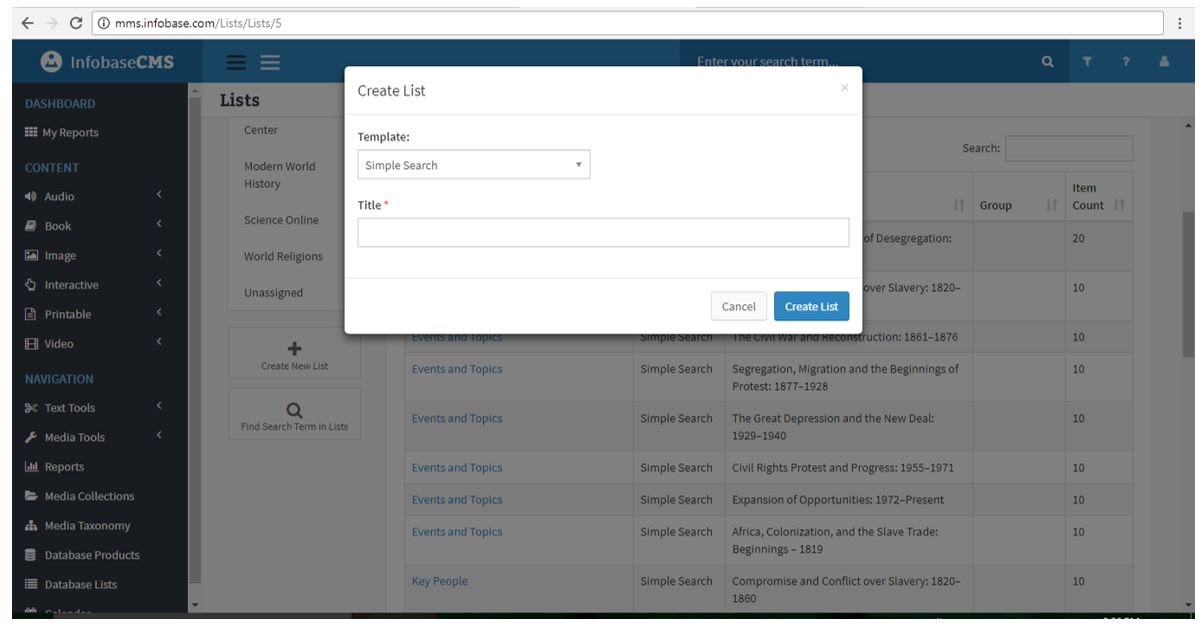
A pop-up will appear. Select your desired template and add a title. You will not be able to add a list with null Title field.
Since you cannot add lists to a location until they’ve been created, your list will appear in the “Unassigned” location.
You can use the search field in the upper right hand corner to find your newly created list. Enter your list by selecting the title link. Remember not to change list names for lists that have a standard name that pulls into product.
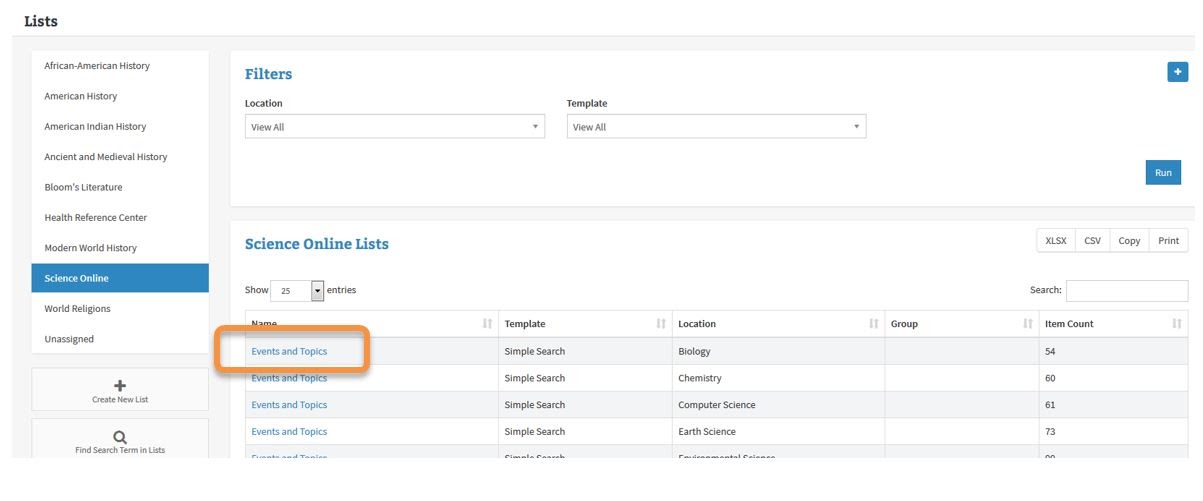
Add items to your list by selecting the pencil icon.

This will allow you to add items to your lists, save edits, or exit by clicking the "x."
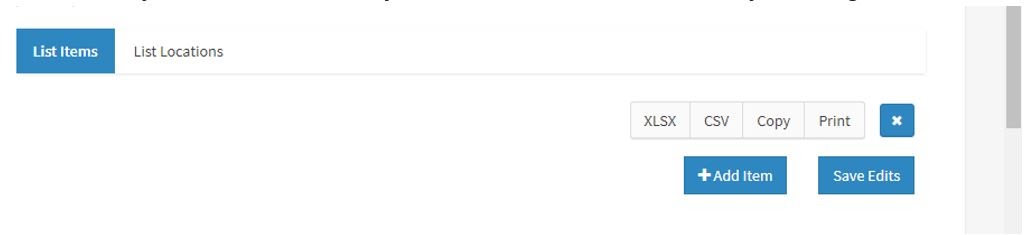
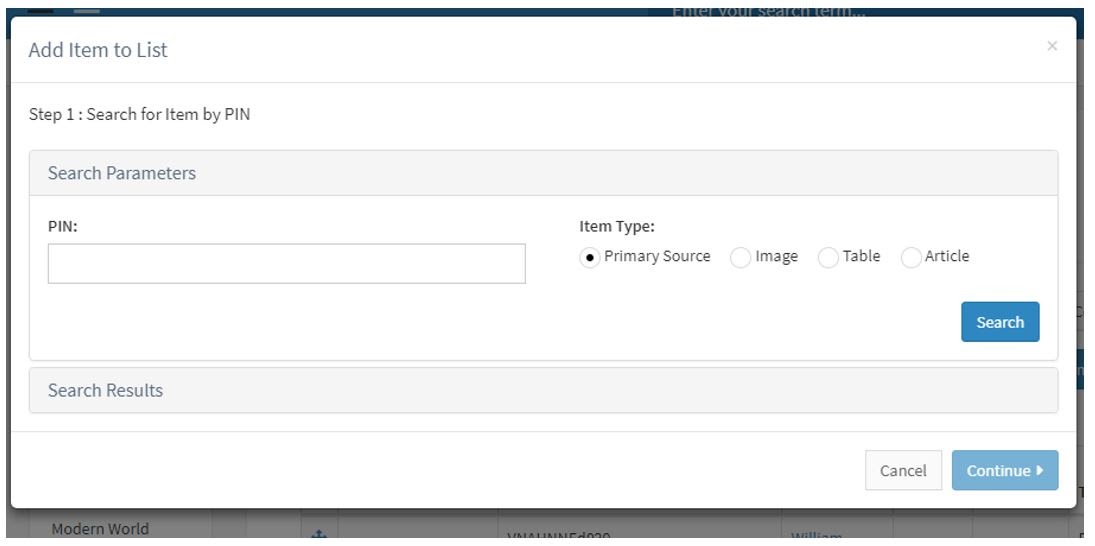
When you select +Add Item, a pop-up will appear. This pop-up will change depending on the list template you have selected. Populate the data requested, search for records, choose one, and add item to list. Details about each template are in the next section.
Once you are satisfied with your list, click save. You can always add or remove items, update items, or change order by putting the list back into edit.
List Templates
Use List Templates to select which type of list you want to create.
Simple Lists
Simple Suggested Searches
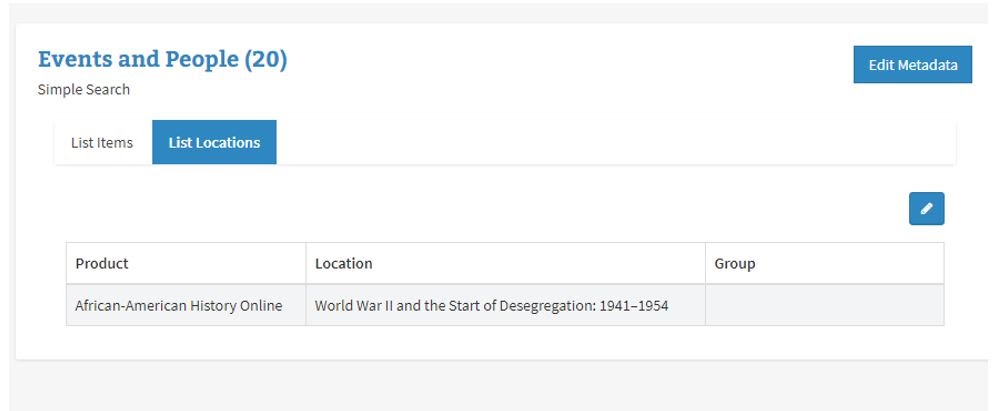
A basic search list with Display Term, Index Term, and Search Term. These appear at the bottom of the designated Topic Center. Each Topic Center has two Suggested Search list: Events and Topics and Key People, which are merged together at the bottom of the Topic Center.
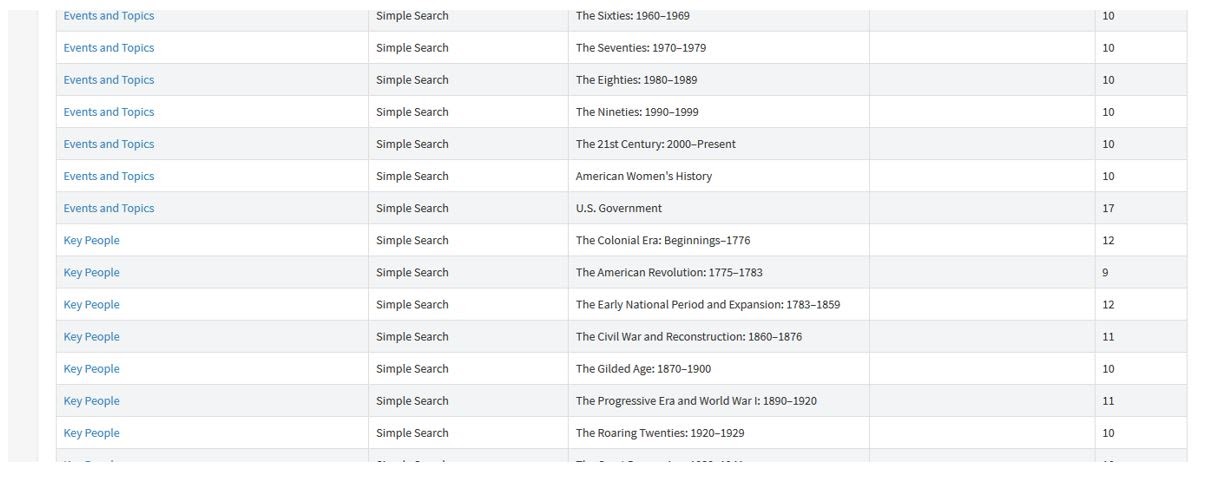
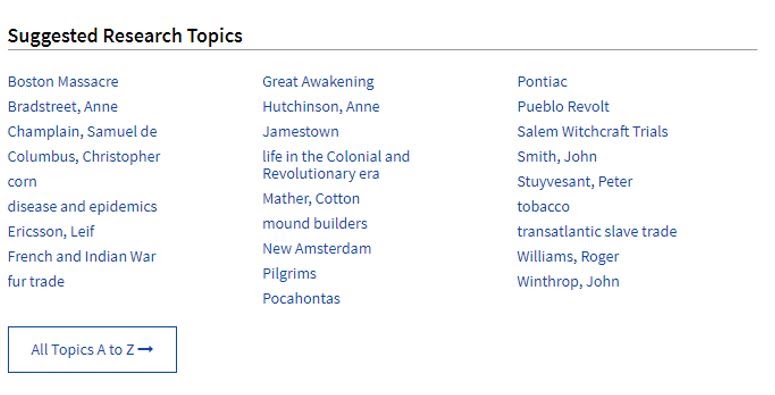
These can only be assigned to Topic Centers in List Location.
Simple Direct Link lists
Add Primary Source Document, Image, Table, or Article to the list. Make sure the correct record type is selected for the PIN you are trying to add.
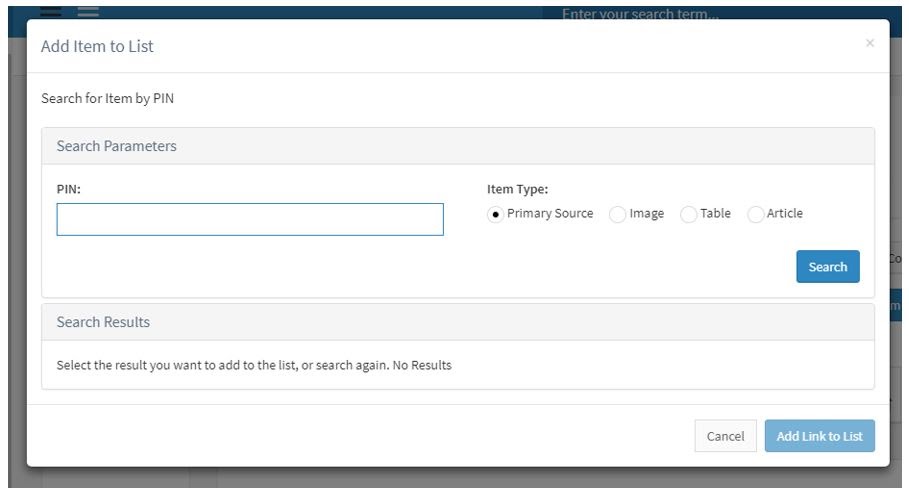
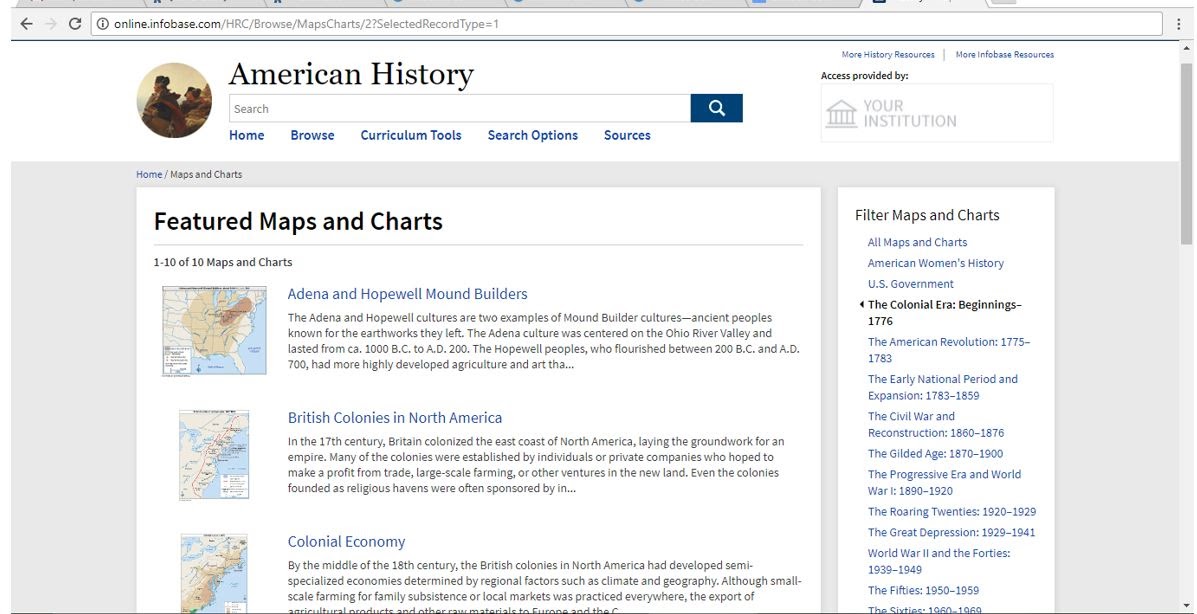
These lists only display Title and Record Type. This template can be seen in Featured Maps and Charts for Topic Centers
Advanced Lists
Advanced Search Lists
Key People (search)
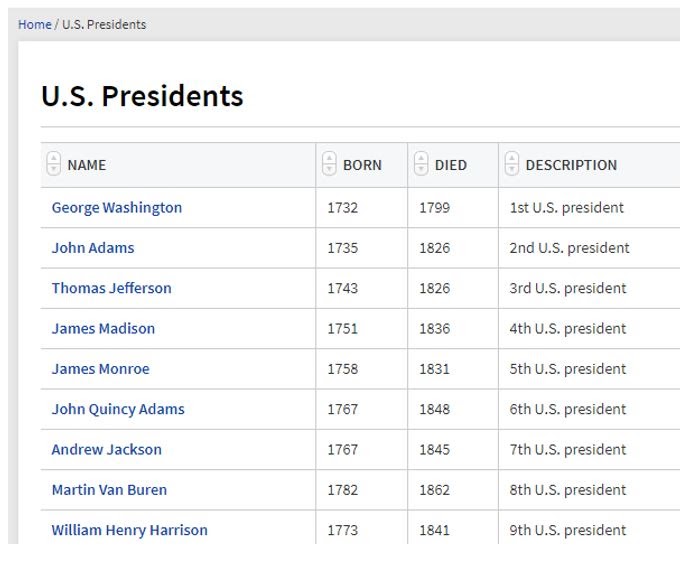
Key People (search) is an advanced search list with more fields than a simple search list. Not to be confused with Key People Simple Search lists, which are Template=Simple Search, Name=Key People and appear with Key Events at the bottom of Topic Centers. These are Template=Key People, can be given distinct names, and are found in the Key People sliders on the product's homepage.
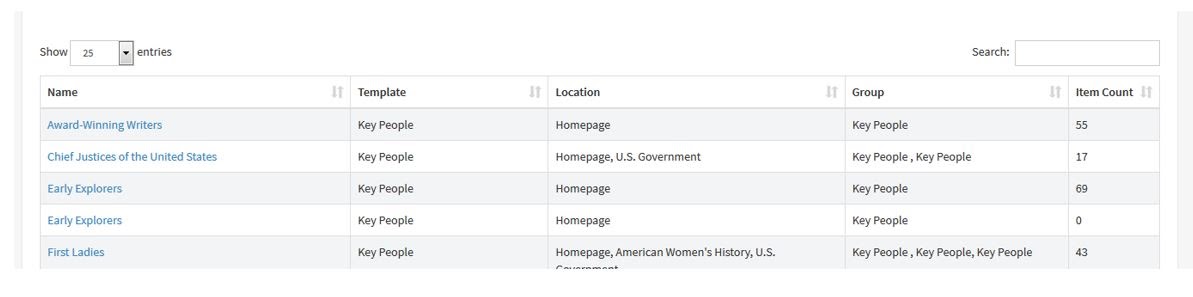
Key People (search) include Display Term, Index Term, Search Term, Born, Died, and Description. These are search lists found on homepages and the advanced Topic Centers, Women and Government in American History Online.
Advanced Direct Link Lists
This includes:
Key Maps, Graphs, and/or Images (Fields: Title, Date)
Key Primary Sources (Fields: Title, Date, Doc Author)
Key Interactives (Fields: Title)
Key Videos (Fields: Title)
Key Audio (Fields: Title)
Suggested Resources (Fields: Title)
These lists types can be found on homepage sliders and the advanced Topic Centers, Women and Government. You can add records via PIN or ID, depending on which content type. You will only be able to add the record type(s) allowed by the specific list template.
Below are explanations of the unique features found in the different Direct Link list types:
Key Maps, Graphs, and or Images
Select Different View Options
When selecting a list location and group, you can choose between a grid view, list view, and slideshow view.*
*please note that this functionality is still in progress and will be in the list tool soon.
Key Interactives
Icon Image
When assigning a list location and group, you can add the icon image to display in the slider only for that interactive by entering the icon image filename into the icon image text field. Include the file extension (for example ".jpg"). These would be the specifically sized and cropped -I files.
Note: Currently Icon Image files themselves should still be transmitted to Nicole.
Changing List Type
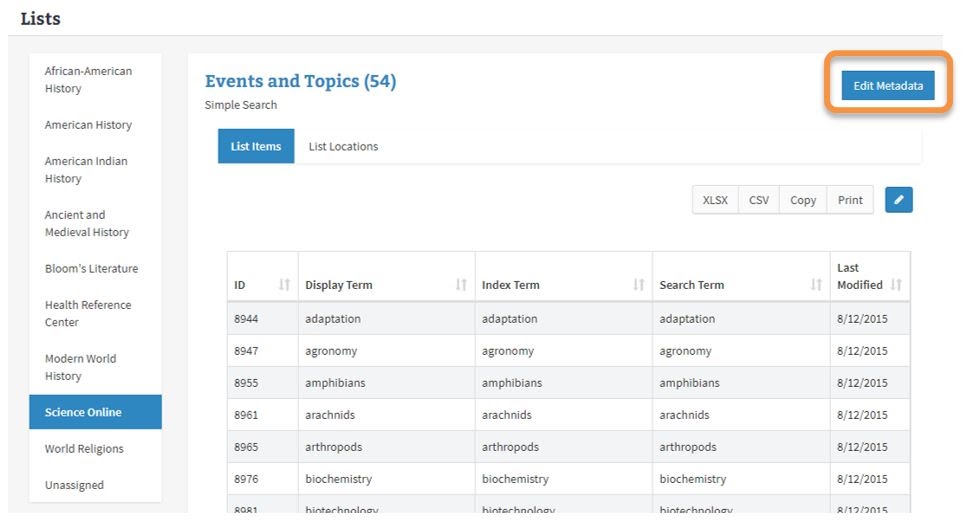
You can change List Type by clicking “Edit Metadata” at the top right corner of the list. A pop-up will appear with the Template and Title fields. Make needed adjustments in these fields and click save.
Locations and Groups
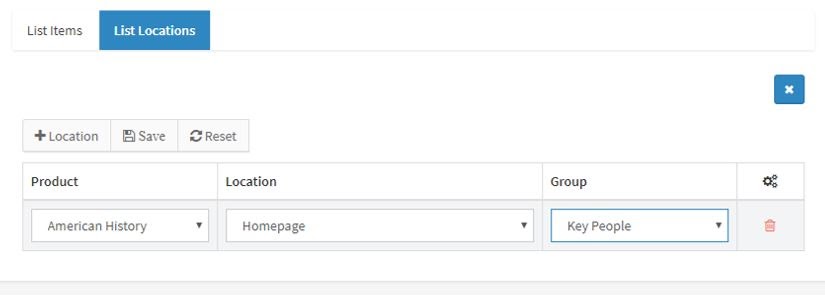
Use Locations and Groups to select where your list will appear within the product. Select Product. Then Homepage or Topic Center if applicable. Then Group if applicable. Note that you cannot have a list assigned to only a Product and a Product without a Group.