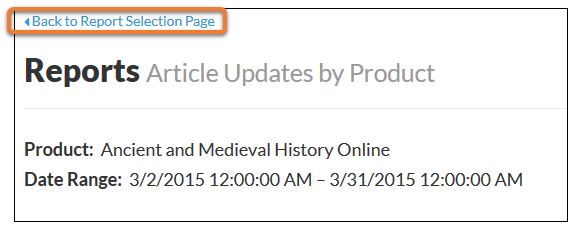
For Editors
To generate reports, login to the Infobase CMS. Then, select reports from the top menu.

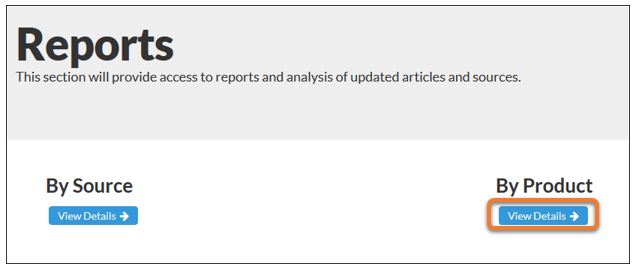
Once in reports, select the "View Details" button under By Product.
Step 1: Select the desired date range for report. This date range will reflect the dates updates went live in a product (not the date the entry was modified).
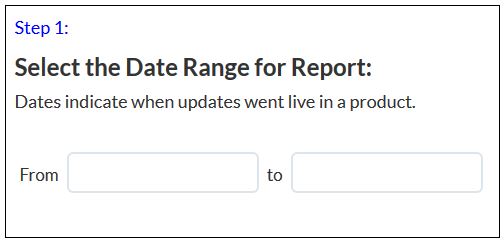
Click on the "From" date field provided, and select the earliest date you wish to start from in the provided calendar:
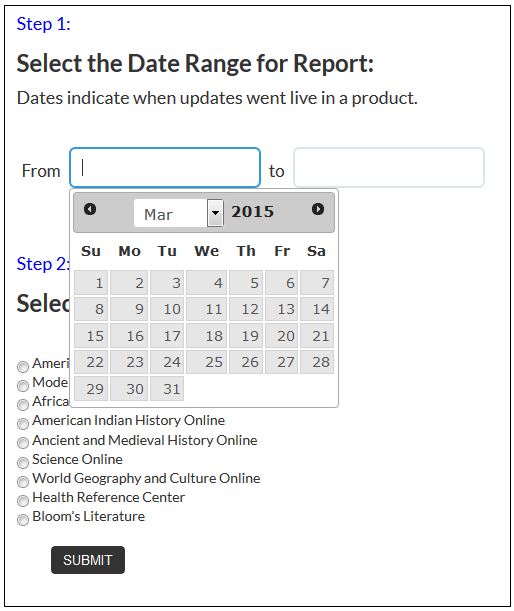
Do the same for your desired end date in the "to" field.
Once you have a date range, select which product on which you want to run the report (note that you can only select one product at a time):
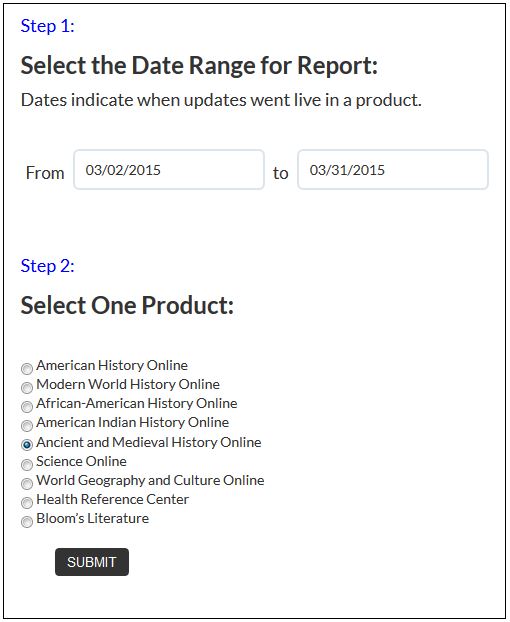
Once you have selected the desired date range and product, click submit.
A report of all the updates made live in that product during the selected date range will display. It will list all of the updated and newly added entries, who updated them, and when those updates were made.
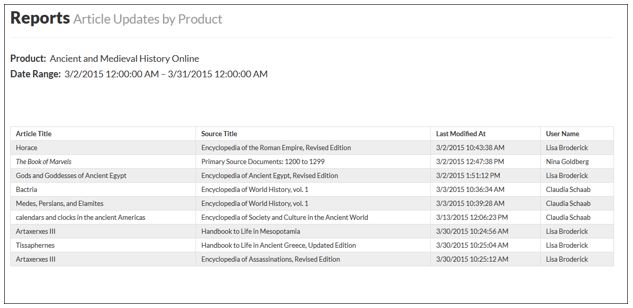
To export the report, scroll down to the bottom of the page. Here, you will have the option to export the report as an excel sheet or as a PDF.
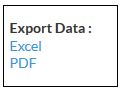
Click the preferred format.
To export as an excel spreadsheet, click "Excel." A window will pop up allowing you to either open or save the file.
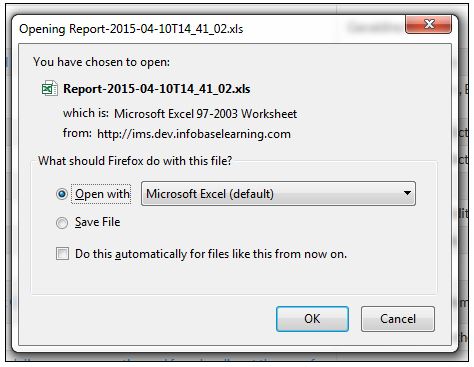
Once you have opened and/or saved the spreadsheet, you can print the report from excel.
To export as a PDF, click "PDF." The report will open in a new window in PDF format. You can then save and/or print the report as a PDF.
To generate another report, click the "Back to Report Selection Page" in the top right-hand corner: